Manual Deployment
If Cloudflare's limited access requests cannot meet your needs and you have your own server, you can refer to this tutorial to simulate Cloudflare's environment on your server and open corresponding ports to access the service.
Notice
Due to the complex variety of server operating systems and hardware versions, these tutorials cannot guarantee suitability for every user. Please try to use search engines to solve any errors encountered. If unable to resolve, you can also submit an issue for help.
📂 Prerequisites
- Own a Linux/Windows server that can be accessed normally
- Server has Node.js environment installed (recommend v22.5.1)
- Have basic command line operation skills
🚀 Deployment Steps
1. Install Node.js
Install the corresponding node.js for your server operating system. Version v22.5.1 has been tested to work normally.
2. Get Project Code
# Clone project repository
git clone https://github.com/MarSeventh/CloudFlare-ImgBed.git
cd CloudFlare-ImgBed
3. Install Dependencies
Switch to the project root directory and run npm install to install required dependencies:
npm install4. Start Service
Run npm run start:docker in the project root directory:
npm run start:dockerAfter normal startup, the console output should be similar to:
Database initialized successfully
Server running at http://0.0.0.0:8080
Data directory: /your/path
Mode: Docker (Native Node.js)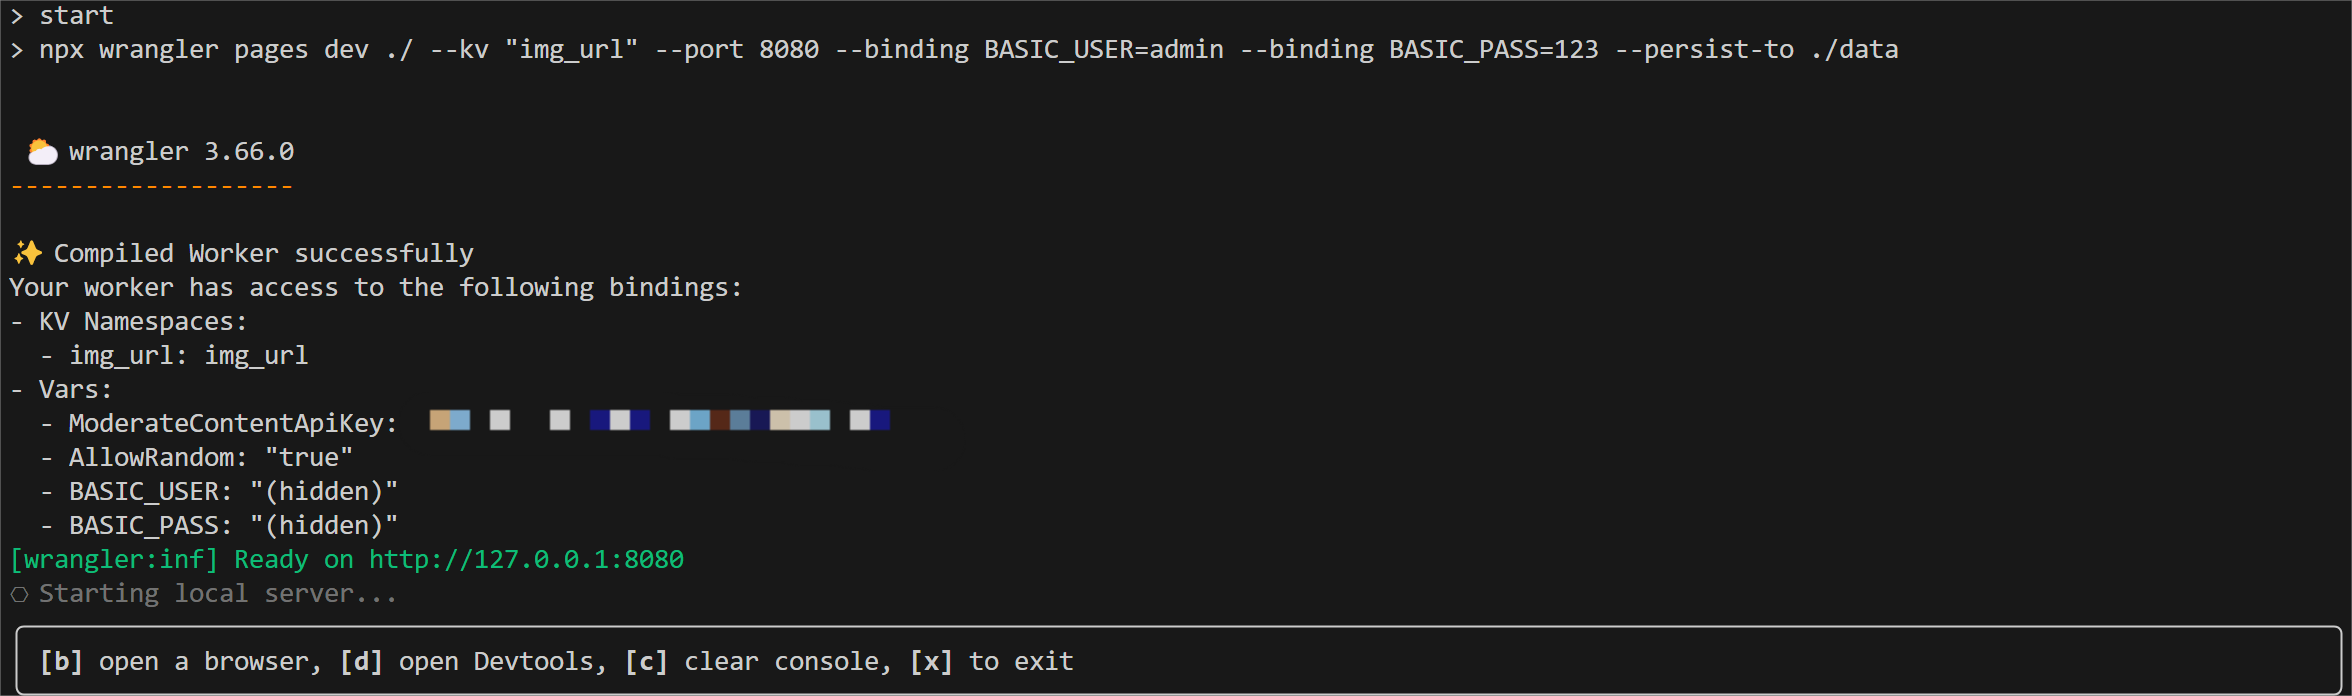
At this point, under normal circumstances, the project has been successfully deployed. The program runs on port 8080 by default.
⚙️ Custom Configuration
Modify Port
The service runs on port 8080 by default. You can change it via the PORT environment variable:
# Linux / macOS
PORT=9090 npm run start:docker

# Windows (CMD)
set PORT=9090 && npm run start:docker

# Windows (PowerShell)
$env:PORT=9090; npm run start:docker
Data Persistence
Data is automatically saved in the ./data folder under the project directory. Make sure this directory has sufficient read/write permissions.
🚀 Next Steps
At this point, the project has been manually deployed with default support for Cloudflare R2 storage channel. For adding other storage channels and other settings, please refer to Configuration Guide.