Prerequisites
Before deploying CloudFlare ImgBed, you need to prepare according to the storage channels you want to use.
1. Channel Overview
The project supports different storage channels as backend storage. Each channel has different advantages and limitations. You can choose the appropriate channel according to your needs.
| Channel Type | Advantages | Limitations |
|---|---|---|
| Telegram Bot | Completely free, unlimited capacity | Files larger than 20MB need to be stored in chunks |
| Cloudflare R2 | No file size limit, enterprise-grade performance | Charges after 10GB free quota, requires payment method |
| S3 Compatible Storage | Diverse options, flexible pricing | Pricing varies by provider |
| Discord | Completely free, simple and easy to use | Files larger than 10MB need to be stored in chunks |
| HuggingFace | Completely free, supports large file direct upload | Requires HuggingFace account |
| WebDAV | Wide compatibility, supports self-hosted storage | Pricing varies by provider |
2. Telegram Bot Channel
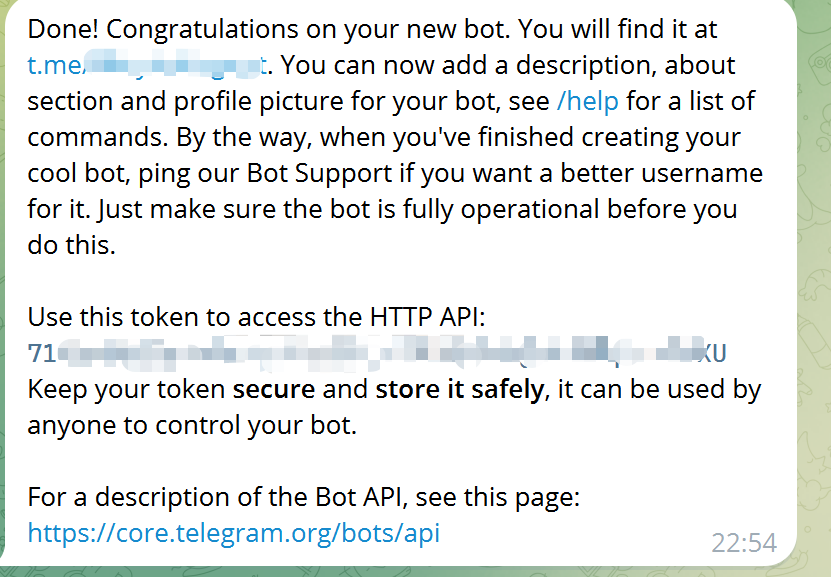
2.1 Get TG_BOT_TOKEN
- Search for @BotFather in Telegram
- Send
/newbotcommand - Follow prompts to enter Bot name and username
- Get Bot Token (format:
123456789:ABCdefGHIjklMNOpqrsTUVwxyz)
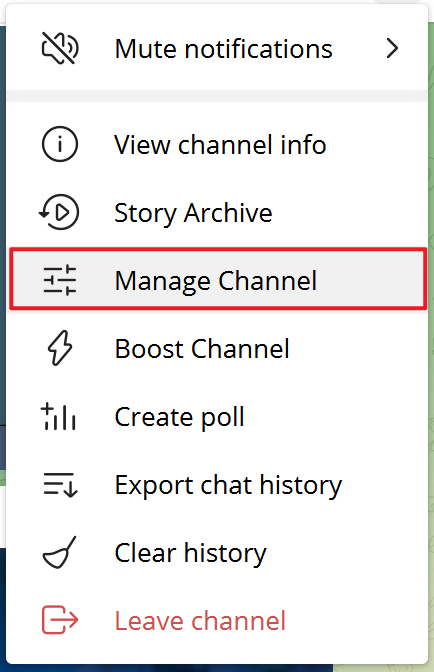
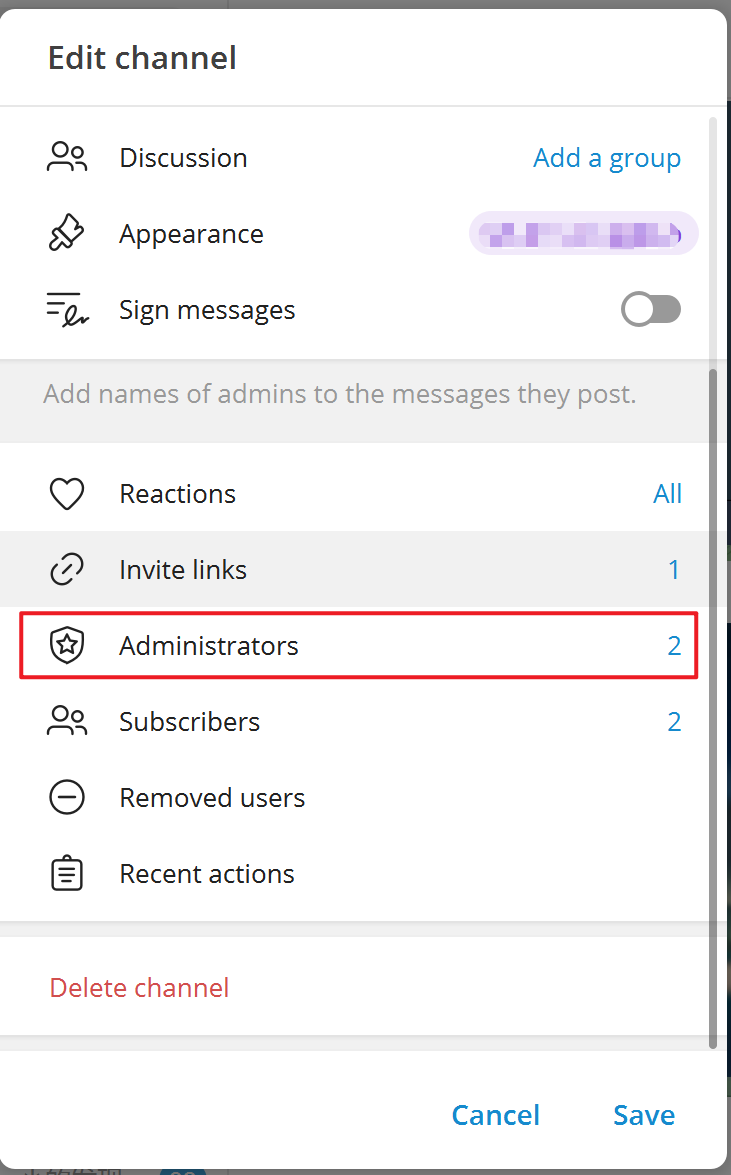
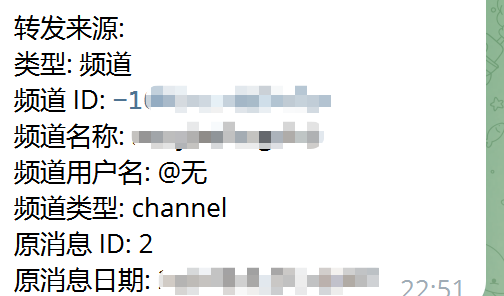
2.2 Get TG_CHAT_ID
- Create a new Telegram channel
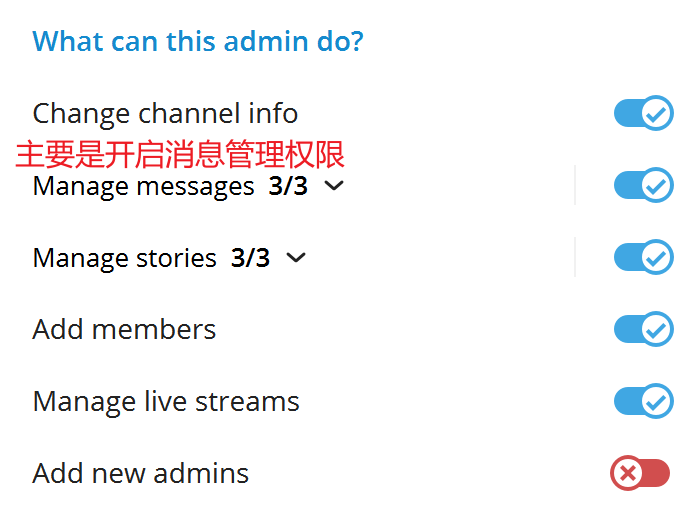
- Add the created Bot as channel administrator
- Grant the Bot message management permissions
- Send a test message in the channel
- Forward this message to @VersaToolsBot
- Get the channel ID (example:
-1001234567890)
Note
- The
-sign before the channel ID must be retained - The Bot must have channel administrator permissions
3. Cloudflare R2 Channel
3.1 Create R2 Bucket
- Login to Cloudflare Dashboard
- Select "R2 Object Storage"
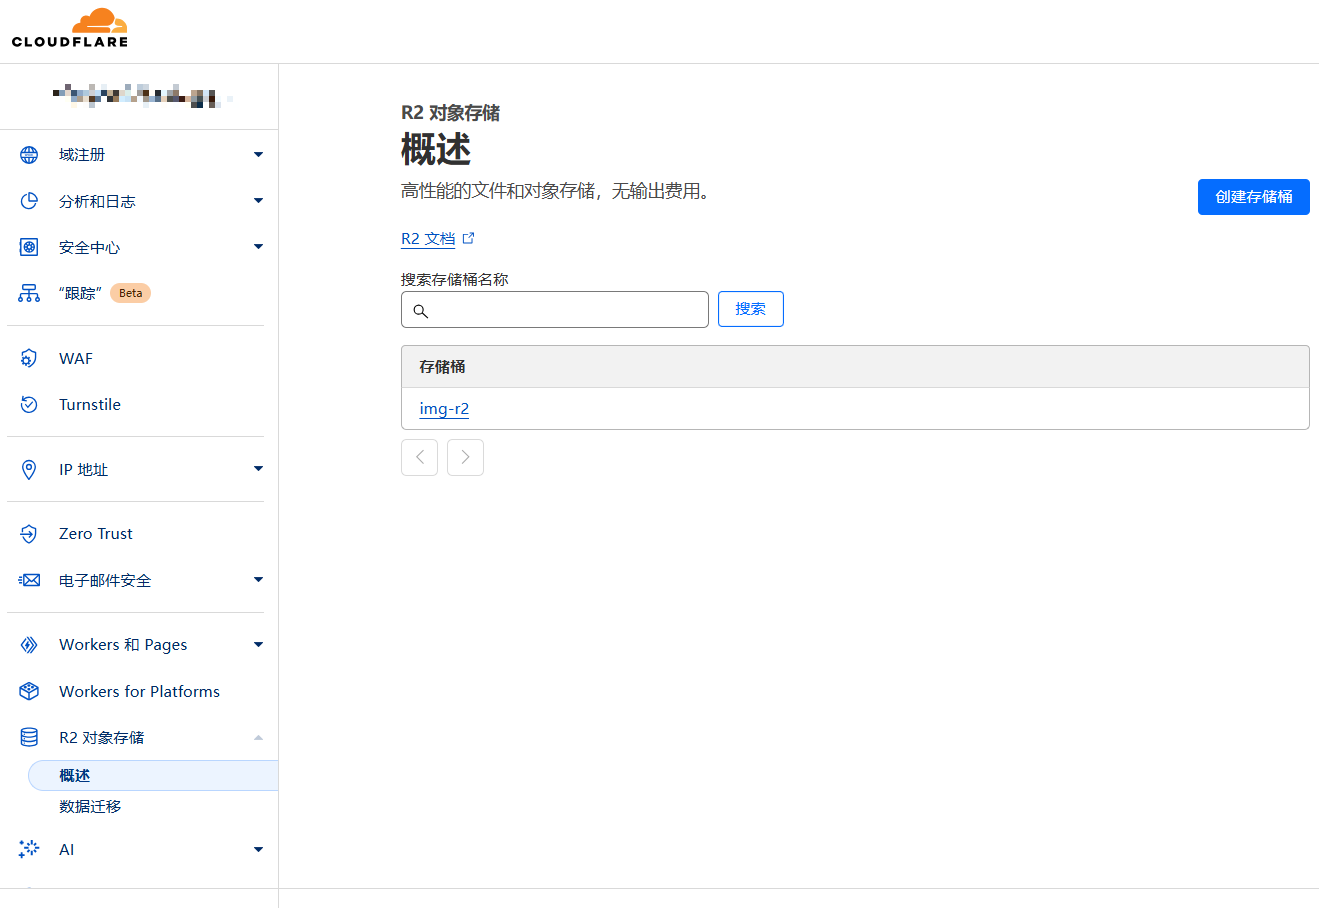
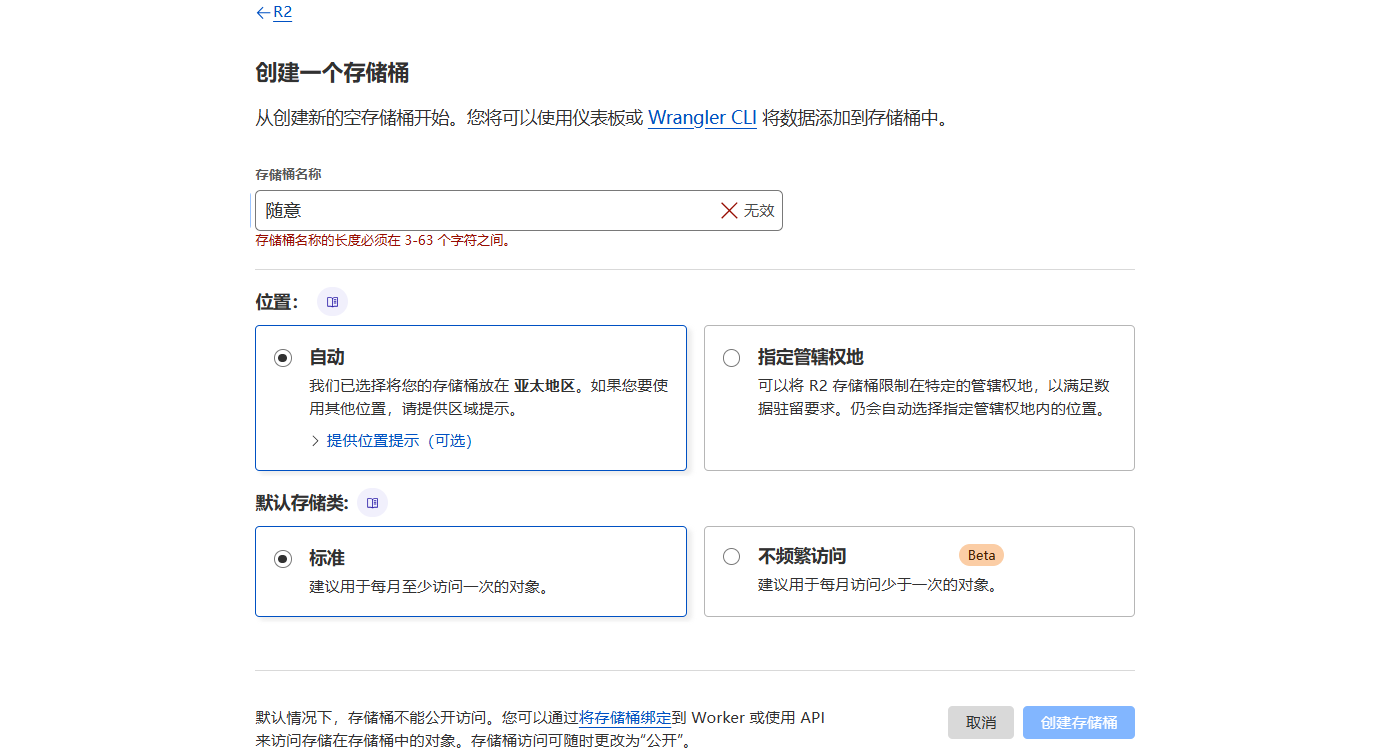
- Click "Create bucket"
- Enter bucket name (globally unique)
- Select storage region
- Click "Create bucket"
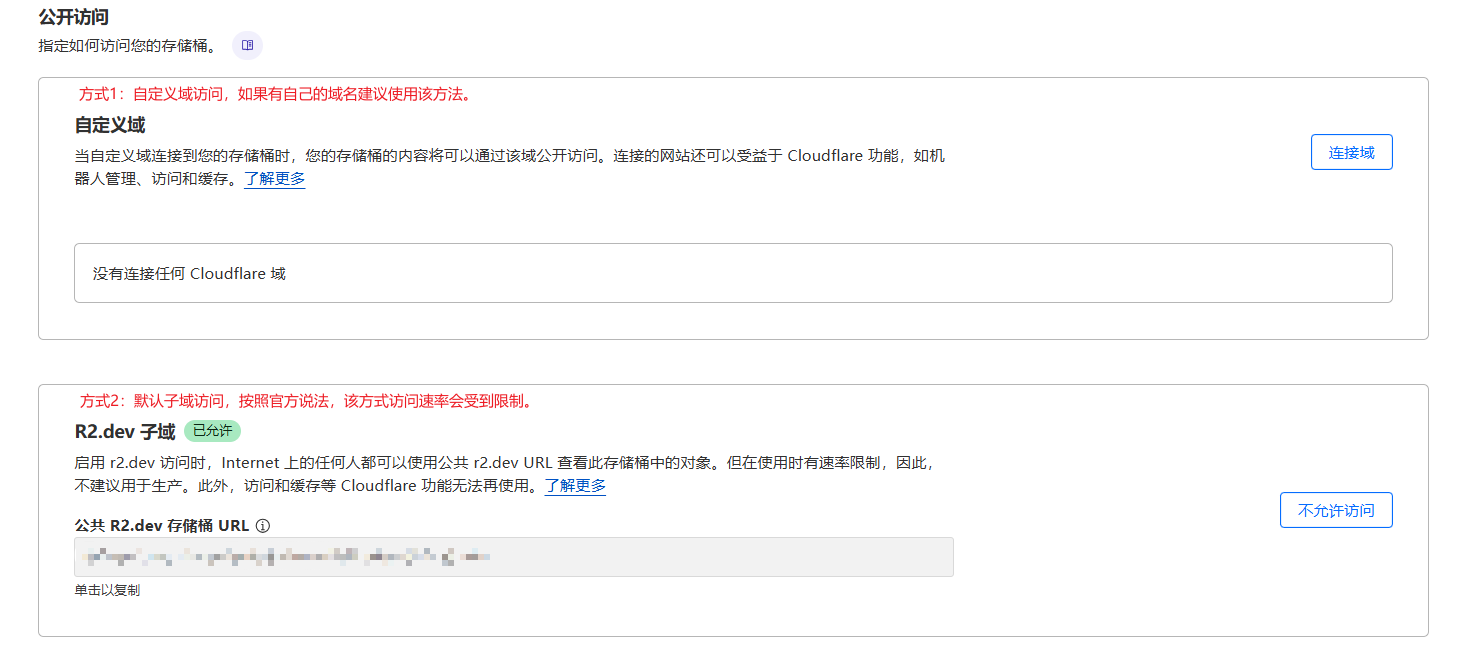
3.2 Configure Public Access (Optional)
If you need to enable image review functionality:
- Enter the created bucket
- Select "Settings" → "Public access"
- Enable "Allow Access" or configure custom domain
- Record the complete public access link (e.g.,
https://your-bucket.r2.cloudflarestorage.com/)
4. S3 Compatible Storage
4.1 Supported Providers
| Provider | Region | Features |
|---|---|---|
| Amazon S3 | Global | Original S3 service |
| Qiniu Cloud | China | Fast domestic access |
| Upyun | China | CDN acceleration |
| Backblaze B2 | USA | Affordable pricing |
| Cloudflare R2 | Global | Cloudflare ecosystem integration |
| MinIO | Global | Open-source S3 compatible storage |
Note
The above are tested S3 compatible storage providers. Other S3 compatible providers have not been tested and may have compatibility issues.
4.2 Required Information
S3_ACCESS_KEY_ID: Access key IDS3_SECRET_ACCESS_KEY: Secret access keyS3_BUCKET_NAME: Bucket nameS3_ENDPOINT: Service endpoint URLS3_REGION: Storage region (optional)
5. Discord Channel (by @林酱)
5.1 Create Discord Bot
- Visit Discord Developer Portal
- Click "New Application" to create an application
- Go to "Bot" page, click "Add Bot"
- Copy the Bot Token
5.2 Get Channel ID
- Enable Developer Mode in Discord client (User Settings → Advanced → Developer Mode)
- Create a channel for storing files
- Right-click the channel, select "Copy Channel ID"
- Add the Bot to the server and grant file sending permissions
Note
- Regular users have a 10MB file size limit
- Nitro users have a 25MB file size limit
- Ensure the Bot has permissions to send messages and attachments
- Discord has API rate limits, not recommended for high-concurrency scenarios
6. HuggingFace Channel (by @林酱)
6.1 Create HuggingFace Account
- Visit HuggingFace and register an account
6.2 Get Access Token
- After logging in, visit Token Settings Page
- Click "New token" to create a new Token
- Select "Write" permission
- Copy the generated Token
Note
HuggingFace channel supports large file direct upload, recommended for uploading files larger than 20MB.
7. WebDAV Channel
The WebDAV channel allows you to use any WebDAV-compatible storage service as the backend, such as Nextcloud, Alist, Nutstore, etc.
7.1 Required Information
- WebDAV Base URL: Full URL of the WebDAV service (e.g.,
https://dav.example.com/remote.php/dav/files/user/imgbed/) - Username: (Optional) WebDAV authentication username
- Password: (Optional) WebDAV authentication password
- Public Access URL: (Optional) If the WebDAV storage has a public HTTP/CDN address, the server can read files directly from this URL when configured
- Custom Headers: (Optional) Additional HTTP headers in JSON format
Note
The WebDAV channel has wide compatibility and is suitable for users who already have a WebDAV storage service.
🚀 Next Steps
After completing the preparation work, you can choose the appropriate deployment method: